Creating & Updating Studies
Creating Studies
Studies can be created from a number of different pages, including the home page. On the 'New Study' page, you will be presented with a number of different inputs for describing and adding features to your study. Most of these inputs are not required, but can add a lot of value to your study when used properly.

Study Overview
This section defines the required inputs that provide context for your study. These include:
Name: A brief but descriptive name for the study. This name and the generated study code will be used to label notebook, storage folders, and other records created by Lab Atlas.
Project: Select the Project you wish to associate the study with. This will also determine where storage and ELN folders will be created.
Description: Describe your study's purpose and goal in a few sentences.
Start Date: Select the date the study is expected to begin.
End Date: Optional. If the study has already completed, you can set the end date.
Aliases: Optional. If the study has any other identifiers you would like to associate, you may add them here.
That's it. If no other information is required and you would like to get on with your work, you can click 'Submit' at the bottom of the page and the study will be created. If you'd like to provide more information or enable additional features, you can use some of the other inputs below.
Study Team
If more than one person will be working on this study, you can search-for and add them to the study using the Study Team inputs. These people will also be added as authors on any ELN notebook entry that Lab Atlas will create for you. Be default, you will automatically be added to the Study Team. You can remove yourself from the study by adding another user and then clicking the 'x' button next to your name.

External Collaborators
If your study is being performed externally or in collaboration with an external party, you can add an association with that party in the 'CRO/External Collaborator' section. Lab Atlas can also generate External Study Codes, which can be provided to collaborators in place of the internal study code, so as not to expose any sensitive information that might be embedded in it.

From the dropdown list, select the collaborator you would like to associate with the study.
If an External Study Code has already been provided by the collaborator or CRO, you can enter it in the External Code field. If not, a code will be generated for you and added to the study Aliases list.
Select the collaborator from the list of registered organizations.
If the collaborator you are looking for in not in the list, click the 'Add New Organization' button to register a new one. The Organization Code field will be used as a prefix for generating external study codes.

Tasks
Tasks are a simple method of creating TO-DO style worklists and assigning them to team members for completion. If you'd like to create one or more tasks for the study, you can do so here. More information about creating and using Tasks can be found here.

ELN Folders & Notebook Entries
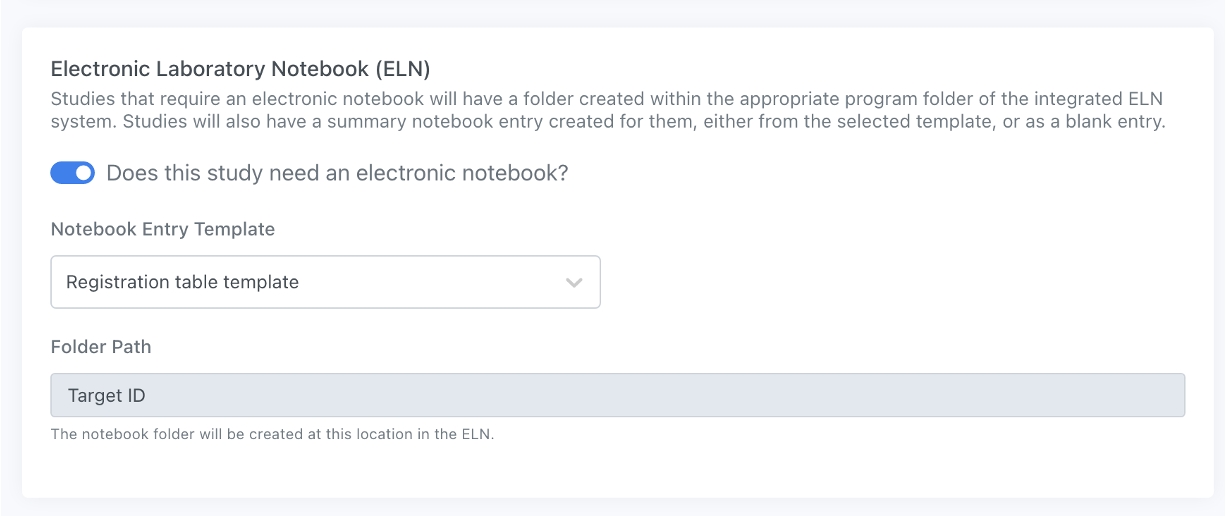
If the project you selected to associate your study with has a linked ELN project, your study will automatically receive a new ELN folder and summary notebook entry from a blank template. You can also choose to create this summary notebook entry from a registered template in your ELN system. Search-for and select the template you'd like to use from the 'Notebook Entry Template' dropdown.
If you do not want an ELN folder & notebook entry created for your study, you can uncheck this option before submitting the 'New Study' form.

Adding a Git Repository
If you would like to create a source code repository for your study in a linked Git server, you can click the switch in the 'Git Repository' section to add one. This will create a repository within the Git group that was assigned to your selected program when it was initialized. If no Git group exists for the selected program, a new one will be created for it.

Last updated