GitLab
Using GitLab to create study groups and projects.
Lab Atlas supports integration with GitLab cloud or Community Edition (aka. Omnibus) via its REST API. Once configured, users can choose to create Git repositories to be linked to their studies & assays, so that computational workflows and source code can be captured.
If you are using a privately-hosted GitLab instance, it must have a public IP or domain, otherwise Lab Atlas will be unable to reach it.
Preparing GitLab for Lab Atlas Integration
Lab Atlas will use a single GitLab project for creating study repositories. A single sub-group will be created for each Lab Atlas program, under which projects (aka. Git repositories) will be created for both studies and assays. It is best that you start fresh with an empty group and use it exclusively for Lab Atlas-created repositories.
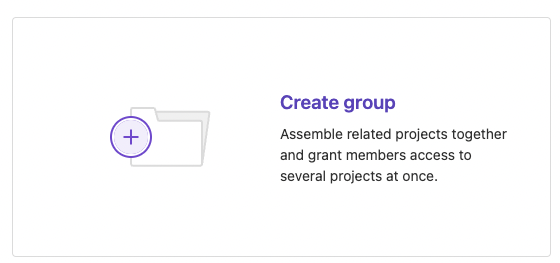
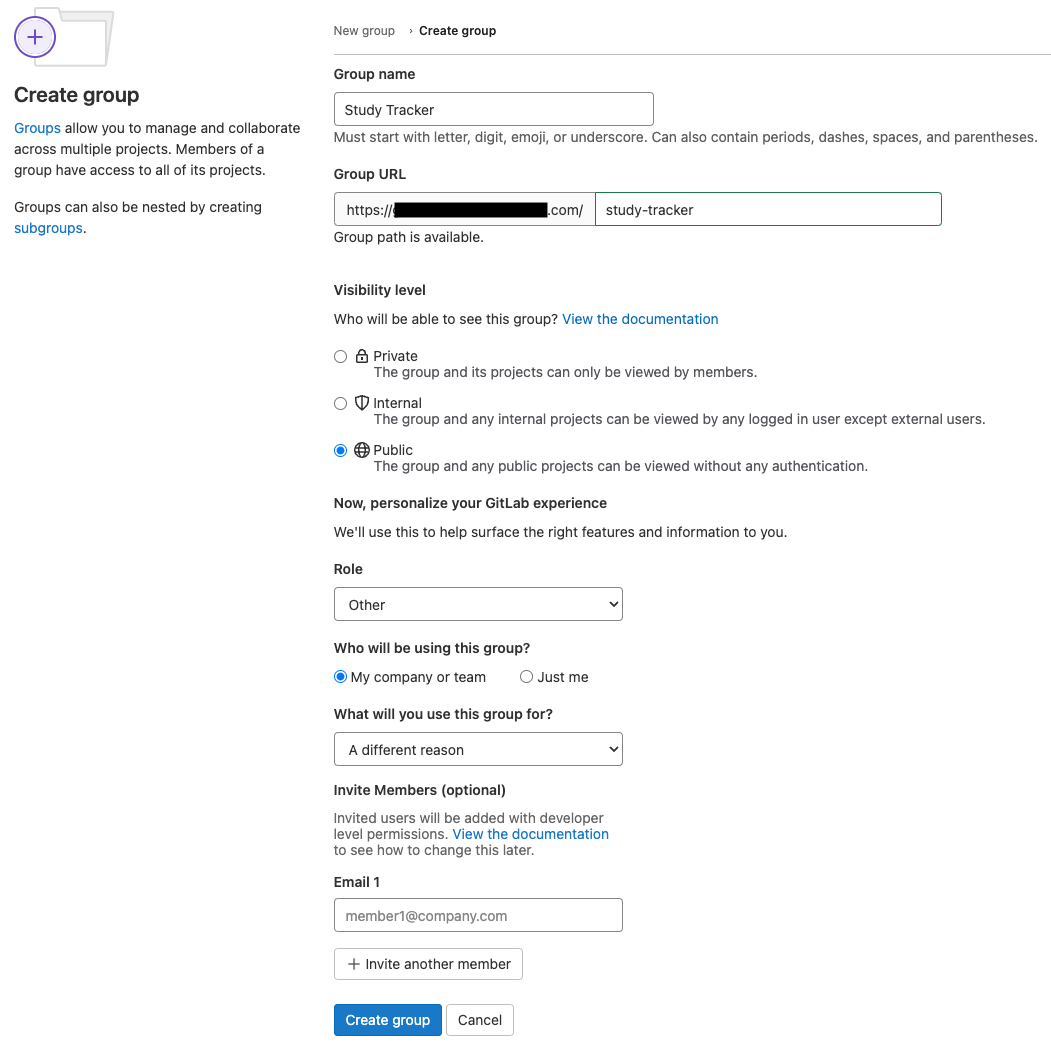
Create a new Group in GitLab.
This needs to be done by an administrator. Give your project a clear name. Be thoughtful about how you set the Visibility Level of the group. For private GitLab instances, to ensure that projects are accessible to colleagues who do not have GitLab licenses, you should set the Visibility Level of the group 'Public'. For hosting on GitLab cloud, it is probably not wise to make your study projects available to the public internet.
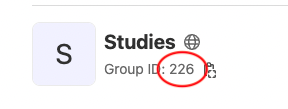
Once the group has been created, make a note of the 'Group ID' that is displayed on the summary page.
Access Tokens
Once the group has been created, you need to allow Lab Atlas to access it using the GitLab API. Access can be granted securely through the use of Access Tokens, which can be defined either at the group or user level.
Creating a Group Access Token
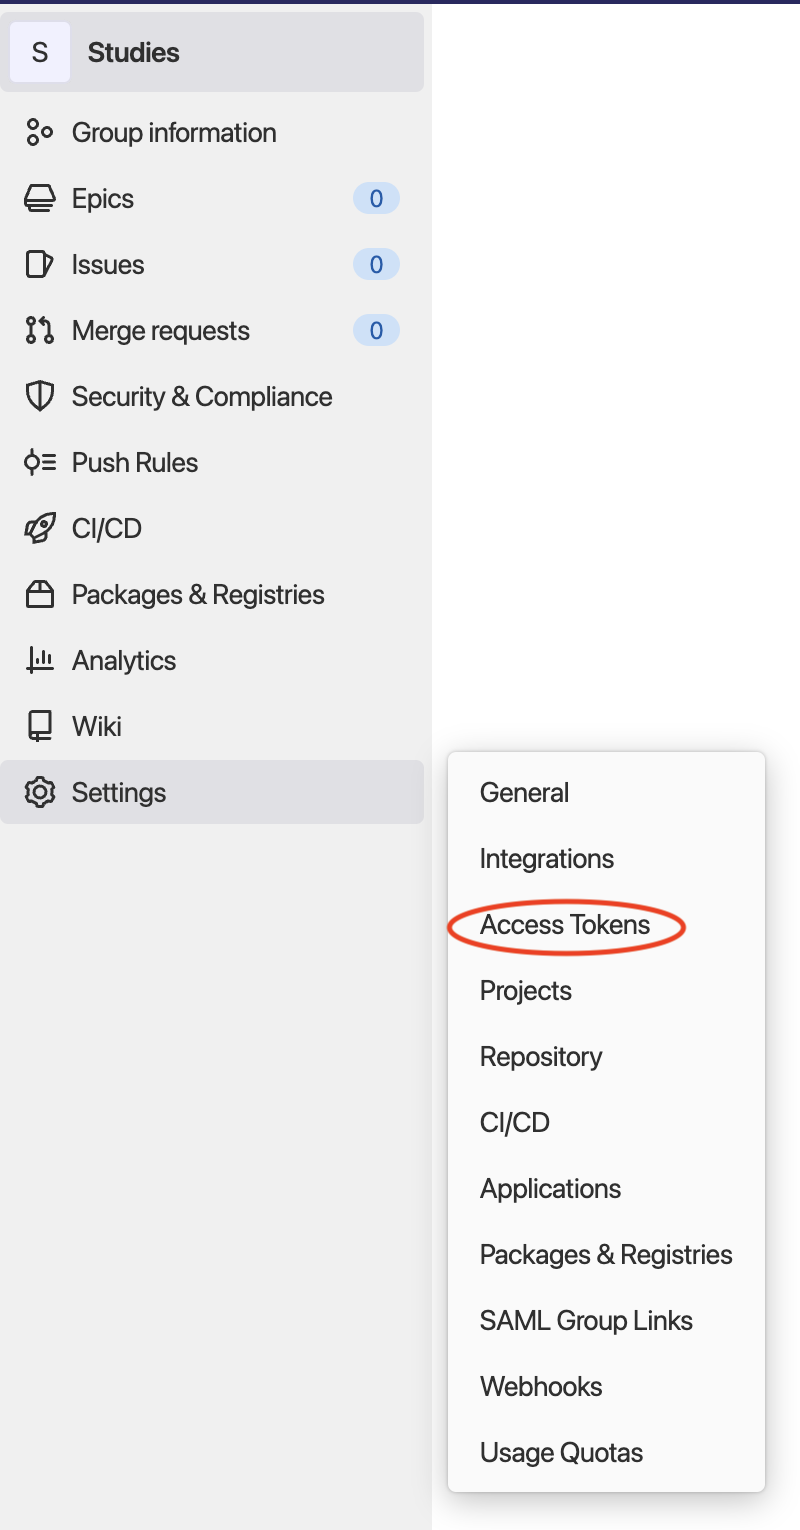
The simplest and most secure way to grant access is with a Group Access Token, which can be created in the group settings menu by someone with the appropriate privileges. The access token should be granted the 'Maintainer' role and 'api' scope, allowing it to create and access subgroups and projects.
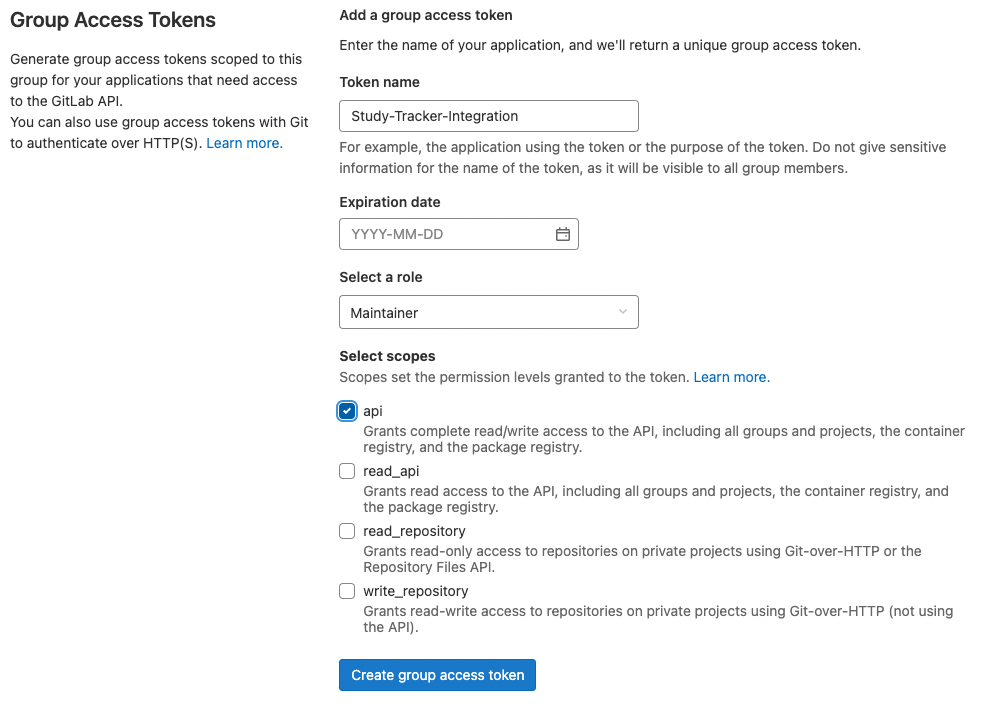
The created access token can be used to authorize API requests, without the need to authenticate a user. This is done by passing it in the Authorization header with the Bearer prefix (eg. Authorization: Bearer abcd-122324i534i). Be sure to save this token in a safe place.
Creating a User Access Token
If you would prefer that Lab Atlas has access to all of the groups in your GitLab instance that your personal user does, you can create a User Access Token instead.
Click on your user icon (usually top-left) and select 'Preferences'. Select the 'Access tokens' menu item, then click 'Add new token'.

On the next screen, give your token a name and set an expiration date some time in the future (be sure to create a reminder for yourself to refresh the token). From the list of scopes, check 'API'. Click 'Create token'. On the next screen, copy and save the secret token.

Registering your GitLab instance in Lab Atlas
GitLab integrations can be registered from the Admin Dashboard. Open the 'Integrations' menu and select 'GitLab'. Click 'Add Integration' to open up the configuration dialog.

In the pop-up window, provide the required info for your integration:
A display name for the integration.
The root domain for the server (eg. https://gitlab.com).
The access token created in the previous steps.
Click submit to create the registration. If the registration fails, check that you provided the correct information and that there is at least one visible group associated with the token.
Last updated